Sealing seams
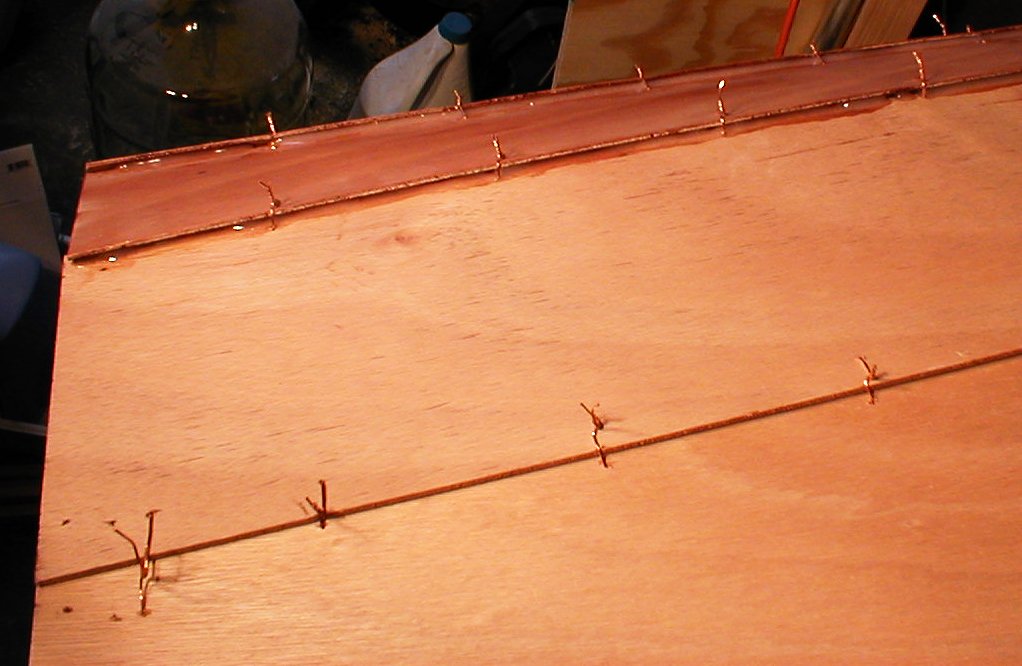
After spending about an hour tightening the stitches in the hull, it was time to seal the joints between the strakes with epoxy. Whether it was some shifting of parts after flipping the hull, or stretching of the copper wire from stress, I found that many of the stitches were loose. My biggest concern was that loose joints would allow epoxy to drip through to the interior, making a big mess that would take lots of sanding to fix. So after about an hour going over each of the hundreds of stitches in the hull and tightening many, it was ready for the glue. (It is a stitch-'n-glue boat, after all.) I mixed up a batch of Cabo-sil-thickened epoxy and transferred it to my zip-lock bag injector. This session would just tack the strakes together between the stitches. Later the stitches are removed and the seams are then fully filled. I found it easiest to get the epoxy properly deep into the joint in the second and third joints. Here the chines are hardest, and there is plenty of room to work. The joint between the #1 strake and the bottom panel was the hardest to fill, since it is a very narrow angle as well as being the highest- just barely in reach as the boat sits on the sawhorses. In order to keep the temperature within curing range, I placed my space heater under the hull so it would trap a bubble of warm air which will hopefully radiate through the wood to the epoxy. The temp in the shop was about 53 degrees, while the air in the hull was 72 degrees. I was able to get nearly all of the seams done before it was time for the Bears game. So, more tomorrow. Go Bears!! Total hours 34.50.
posted by Peter at 3:29 PM
![]()
![]()


0 Comments:
Post a Comment
<< Home