Tuesday, November 29, 2005

New Toys

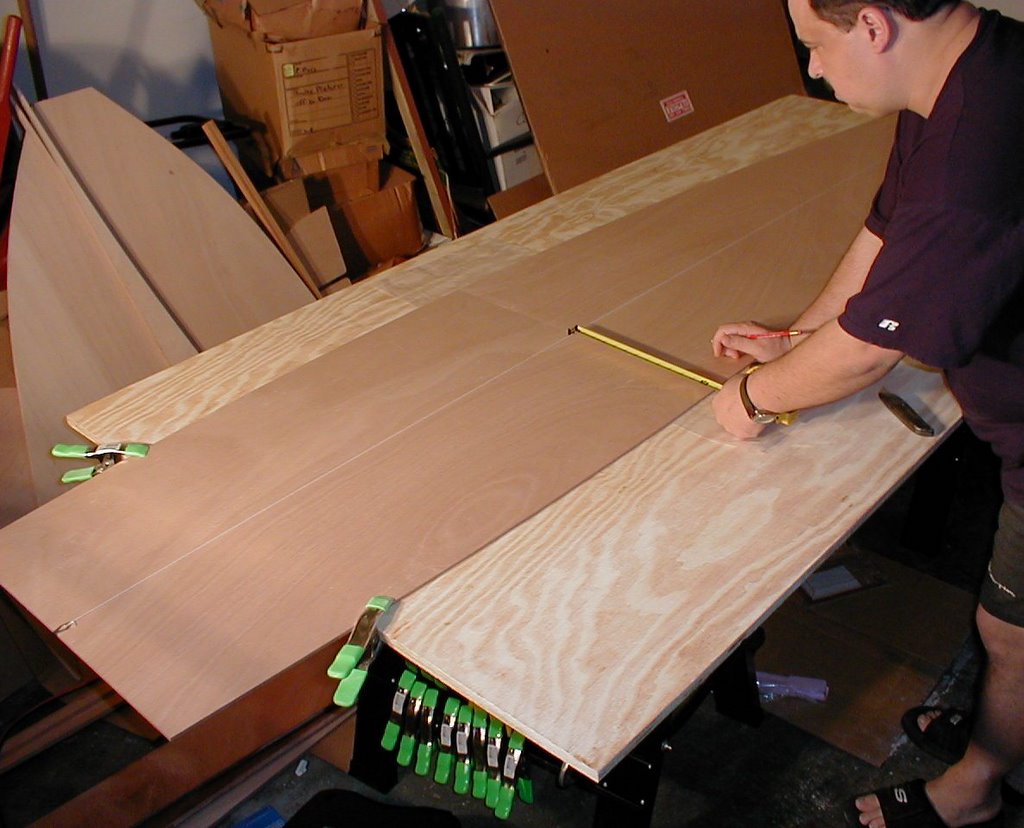
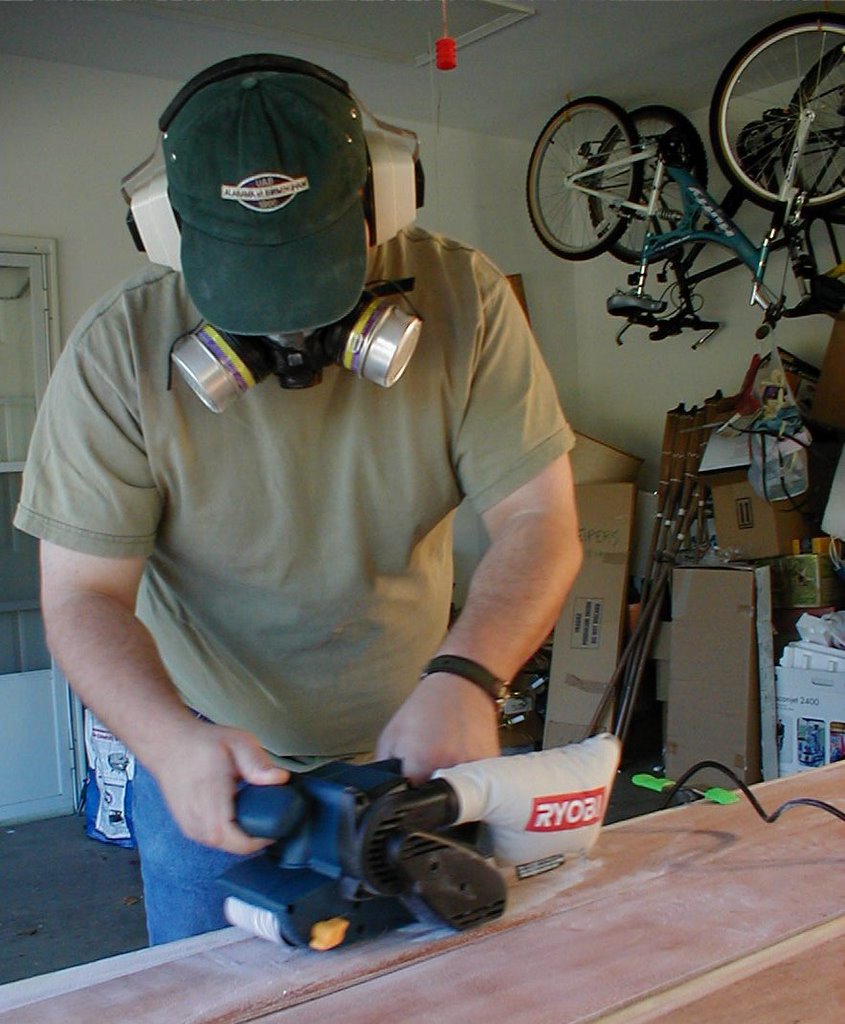
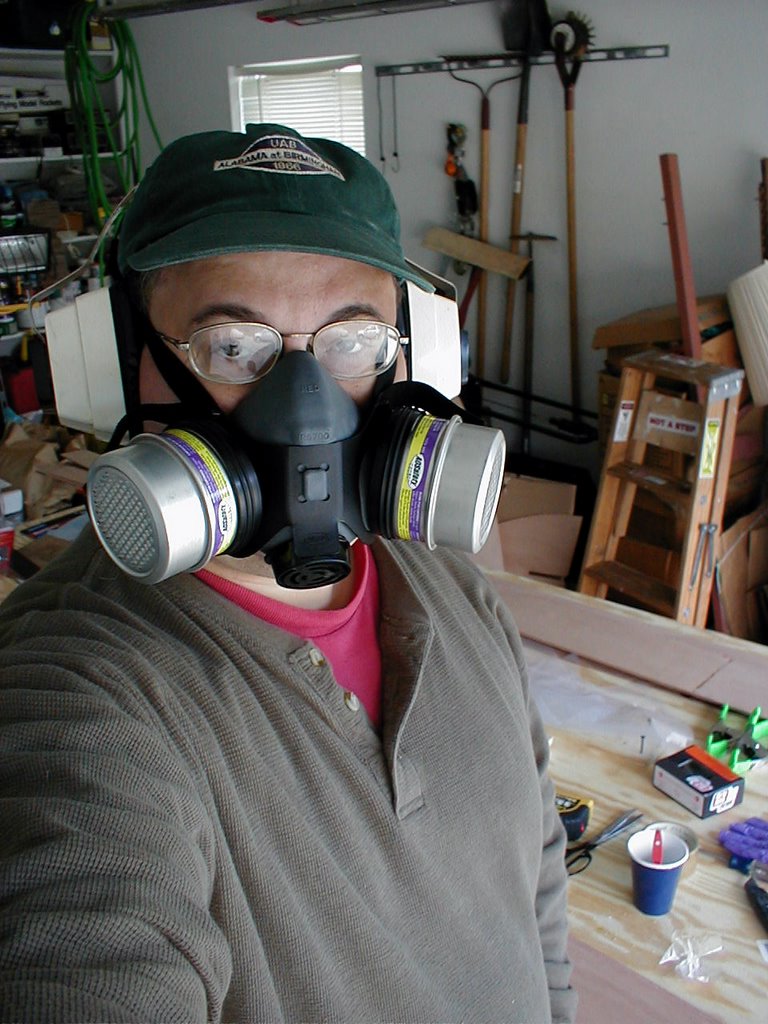
I reached the point in the project where I need to learn a new skill. Several pieces that will be located inside the boat-- seats, bulkheads, transoms and daggerboard trunk -- are to be coated with epoxy. But first, some edges on some of the parts are to be rounded off to give a neat appearance. This can be done with a sanding block, according to the plans. But a more elegant and less laborious method is to use a router with a "roundover" bit. This is where we run up against my paucity of woodworking knowledge. I have vague ideas of what a router does, and the roundover bit seems pretty intuitive. (Clever, even: it shapes a round edge of a certain radius on the edge of a piece of lumber. The ones I bought even have a bearing to help guide and keep the edge straight.) So I got to break out the router I bought a week or two ago. But assembling it and understanding the details on how to handle it are going to take me a while. Fortunately, I work with a guy who is a skilled woodworker. Hopefully I can bend his ear tomorrow.

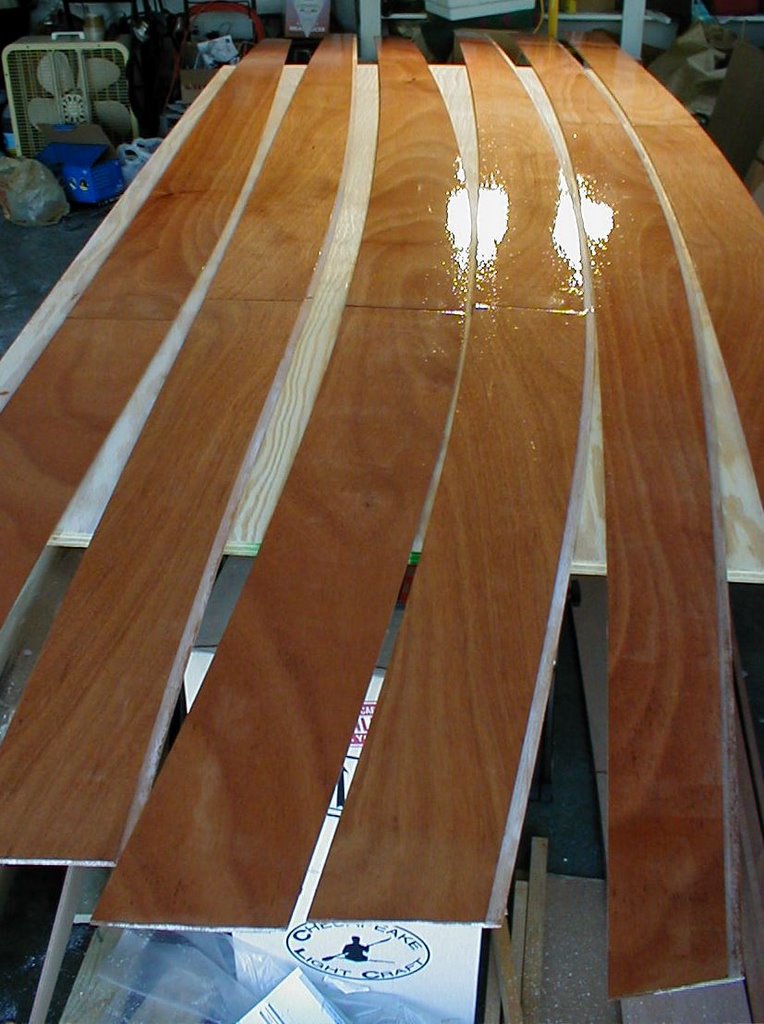
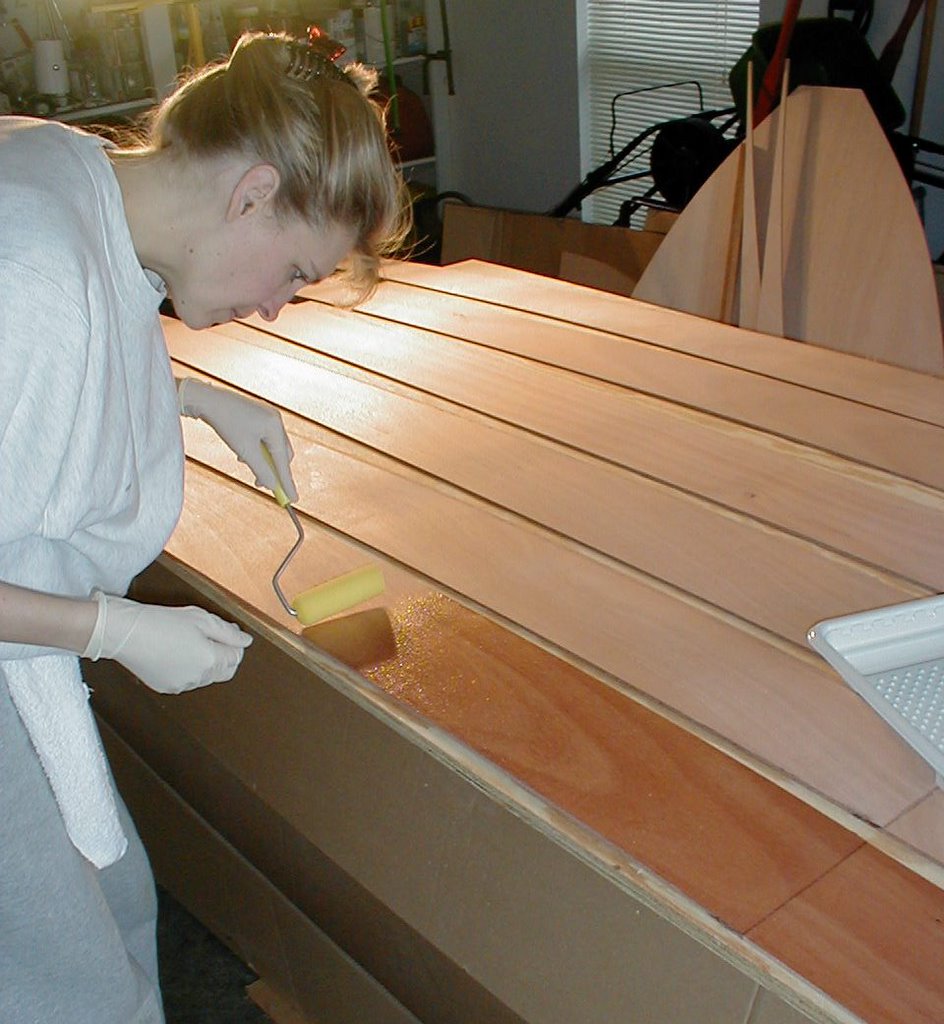
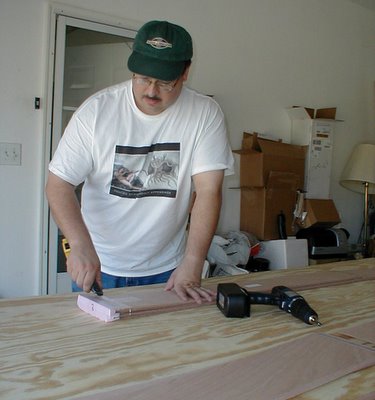
As for the bottom panel scarf and the stern transom, I was pretty happy with how they turned out. The only snag was a couple of drips of epoxy that squeezed out of the transom which I didn't see. They will take some extra work to clean up and sand off before that piece is ready to go.

Monday, November 28, 2005

Down and back

Tonight's tasks included the joining of the scarf joint for the bottom panel, and the bonding of the doubler to the stern transom. The bottom panel went well, after all the practice doing the same thing to the side strakes. It is just a little wider joint, and required care to get the two panels aligned and centered. With a string line, I measured the center down each panel to keep it straight.

Though I hadn't planned to do it, I had enough Cabo-sil thickened epoxy left over that I quickly did the reinforcing doubler on the stern transom. The parts are very accurately cut, and it was a quick deal to coat them, align, and clamp them together. I will later round the lower border of the doubler; it will give me a chance to try out my new router. Everything was then covered by a light sheet of plastic. With the heavy rain we had today, when the garage door is opened later tonight and tomorrow morning, water can drip on the bare wood and leave spots. Total hours 10.50.

Sunday, November 27, 2005

Take four...

The second coat of epoxy on the second side of the strakes was applied today. I'm really getting good at this- after this second coat, very little sanding will be needed before the final finishing of these particular parts. But that is a ways off. There are a number of internal parts that need the same epoxy treatment before the boat is assembled. There are bulkheads, seats, forward and aft transom, and the daggerboard trunk all to be coated. This is actually very nice to be able to pre-treat these parts before assembly. The epoxy can be applied while they are flat, reducing runs and sags of the unthickened epoxy. It is also much faster and easier to get most of the sanding out of the way on simple, flat parts. However, before the internal parts are done, it looks like I need to build up the forward and aft transoms. These parts have "doublers" or re-reinforcement that need to be bonded together before the parts are coated. Temps are holding in the mid 60s, so epoxy curing still can be done reasonably quickly. Total hours 9.50.

Saturday, November 26, 2005

Second coat


After all that sanding yesterday, I spent a good deal of time cleaning up my "shop". After sweeping, vacuuming, and wiping down the strakes, they got a second coat of epoxy. It was today that I noticed a couple of spots where I had sanded through the first coat down to the wood. Mostly it was at the one lousy scarf joint, where there was a high spot. But there were a couple of other little nicks where I wasn't paying complete attention with the sander. I tried to lay the second coat on a little heavier in these spots to make up the difference. But I will probably turn to the CLC boat builders forum to ask what I need to do in this case. Should I apply a third coat? A spot second coat in these areas? Nothing, and leave it to the varnish or paint to give supplemental waterproof-ness? Local temps are in the upper 60s, and so I can give the flip sides their second coat tomorrow. The second coat goes on much faster, and requires less epoxy than the first coat. Also, the roller bubbles settle out on their own and don't require tipping in now that the wood is sealed. Total hours 8.75.

Friday, November 25, 2005

Sanding, part II


Power corrupts, and absolute power finishes the job quickly. The sanding cavalry arrived today in the form of a Ryobi belt sander. My lesson, as it turns out, is not only to avoid cheap tools, but also to use the right tool for the job. I thought I could get by with a "quarter-sheet palm orbital" sander. But these are smaller machines, more suitable for finishing and light sanding. What I really needed was a 3" x 18" belt sander to make quick work of sanding both sides of 12-foot long strakes. So a visit to the local home super store equipped me with both a belt sander and a Black & Decker version of the quarter sheet sander that I burned up on Wednesday. The belt sander did the job 100 times faster than the little orbital sander was doing before it quit. All it took from me was to grasp the subtleties of handling the beast. It removed material very quickly, and a deft hand was needed to avoid gouging or sanding completely through a layer of the mahogany plywood. Fortunately, I was able to quickly find the right balance of pressure between the front and rear handles in order to smooth the rough epoxy surface. In a little over an hour, both sides of all six strakes were brought to readiness for a second coat of epoxy, tomorrow's task. Total hours 8.00.

Wednesday, November 23, 2005

Sanding

The biggest part of the building project, in terms of effort and time, is "finishing". Sanding, painting, and varnishing will be the most tedious part of the job, and it began today. With the first side of the epoxied strakes sufficiently cured, I started sanding them in preparation for a second coat. However, I was only about 45 minutes into the job when my bargain-basement sander quit working. Whether it is gone for good, or just overheated remains to be seen. But it's my own fault, I suppose, in trying to get by with cheap tools. I just thought that even the cheap ones would last longer than 45 minutes. Total hours 6.75.

Monday, November 21, 2005

Flipside

It's a good thing I live in Alabama. That's not something you'll hear this Chicago transplant say very often, but tonight it's true. You see, the catalyzation reaction of epoxy is very temperature dependent. And in the middle of November, the temperature of my attached, unheated garage is hovering around 55 degrees, at the bottom edge of the working temperature for epoxy. With a low temp forecast of 37 tonight, I expect the garage/workshop to stay in the 50s. When the sun streams in the windows tomorrow, it will quickly climb to near 70. So even though we are going through a bit of a cold snap by Alabama standards, it is still boat building weather. Farther north, builders are working hard to keep temps in the workable range, and some are even quitting altogether and waiting until spring.

Kathy and I put a coat of epoxy on the flip side of the six strakes we coated yesterday. Before we started, I had to do some fairly extensive sanding of a couple of the scarf joints on the first pair of strakes I joined. You'll remember that pair wasn't exactly showroom quality. Unfortunately, this was the #4 pair, which will be most visible as the top-most boards. But once again, this is all a learning experience. I quickly got the hang of things, and the later joints are pretty tight and clean. But those will be the ones most obscured by paint in the final boat. Total hours 6.00.

Sunday, November 20, 2005

Strake coating


It is usually good to have a boat that is waterproof. And in spite of using "marine" grade plywood, additional steps are required to make everything impervious to water. This includes coating most of the strakes on each side with two coats of unthickened epoxy. This is done to all but the bottom hull panel, and the number one strake, which will be covered with fiberglass later. And who better to coat the panels than my slightly OCD wife, Kathy? Her attention to detail will save lots of sanding later on, I'm sure. Actually, it was a group effort, with Kathy rolling on the epoxy, and me "tipping in" behind her, which means dabbing with a foam brush to remove bubbles. It was very easy to apply a thin coat, and avoid getting epoxy into the rabbet groove that will later be the joint between strakes when the hull is stitched. Also, I find the epoxy mixing budget mentioned in the book tends to be overly generous. What was supposed to take 16 ounces took us twelve. A hopeful sign that we won't run short of expoxy before the boat is finished. Total hours 4.75.

Saturday, November 19, 2005

Luke, I am your father.

The process of bonding scarf joints is coming to a close. The final pair of side planks was epoxied this morning, and tomorrow I will do the bottom panel of the hull, which is a bigger job, and the alignment may be a little more complicated. After that, a laborious process of coating each piece of lumber with epoxy begins. Two coats on each strake, bulkhead, transom, and seat panel are needed to give the wood parts total waterproof-ness. A big part of the job will be sanding between each coat. This is necessary to produce a smooth finish when the assembled boat is painted and varnished. According to the kit instructions, the dust from sanding can be irritating, and the silica can be detrimental to health. So with a respirator to protect against dust, and a headset to cut the drone of the sander, I am ready to soon enter the next phase of boat building. Total hours 4.00.

Sunday, November 13, 2005

Scarf

Scarf, scarf, scarf! For some reason, I really like the sound of the word. Sometimes I think the reason I'm drawn to all things nautical is because of the terminology. I mean, just try to say "baggywrinkle" out loud without smiling.

Anyway, I continued on with the joining of more scarf joints. The first trial pair turned out less than ideal. One shifted about a quarter inch while it set up. And both turned out a little less clean than I would have liked. Live and learn! At least the rub rails look real good. The two pair that I set up today should come out better- I've learned more about what to look for, and some more crucial points at which to add clamps. Total hours 3.75.

Saturday, November 12, 2005

The clock is ticking...


In what may be a sign of how this project goes, I hit a snag right out of the box. Literally. Equipped with a freshly bought piece of plywood, I was ready to set it on some sawhorses for a work bench. Put when I opened the box containing the new sawhorses, I found they were not ready to use, but rather came in many small pieces, with dozens of bolts and screws with which to assemble them. It took nearly an hour and a half to complete that unexpected chore. But then things began in earnest. There was still prep work. I had to unwrap the carefully cut and packaged side planks. The delicate bevel on each piece was wrapped in foam and many layers of tape. Once these eight pieces of lumber were unwrapped, along with the eight rub rail strips, then the epoxy work could begin.

The beveled ends of the rub rails were easily aligned and then epoxied and clamped for overnight curing. The side planks were a little more difficult. They had to be done in pairs, so that each side on the boat would later come into alignment. So the plank from left and right (port and starboard) were stacked up, with plastic sheets separating each layer. The curve of the board had to be carefully measured against a flat reference line for each pair, and then epoxy was applied.

Once aligned and epoxied, the whole stack was clamped down with a board that was screwed into the work table with sheetrock screws. Since I am a little unsure of my technique, I will let the first pair of boards set up overnight and check it tomorrow before I try the other three sets. But at least the project has begun. Total hours: 2.5

Thursday, November 10, 2005

Saturday kick-off

I am still studying the plans for the boat project. The job ahead seems very do-able, even for one such as me with no woodworking experience to speak of. Just a fair amount of common sense. However, the project does seem a bit daunting. The second reading of the instruction book is when the details really become apparent. No one step will be insumountably difficult, but plenty of elbow grease and patience will be required for a quality final product. Already, I am beginning to doubt the 100 hours estimate is realistic. No matter; even going beyond the self-imposed deadline by a sizable margin won't waste too much of the sailing season. Even if I am ready to sail by early March, it won't be too early. The real salty sailing dogs that I know-- up in Maine-- are still shovelling snow in March while I will be sailing in shorts and a t-shirt.

So the project kicks off this Saturday with the joining of the scarf joints. A high of 72 degrees is forecast for saturday, with full sun. Perfect for epoxy curing! Meanwhile, progress on other fronts: a few weeks ago, I installed a trailer hitch on Kathy's 2004 Saturn VUE. Though the boat can be car-topped feasibly, I think things will be easer with a small boat trailer. I have yet to install the plug-in trailer wiring harness, but it looks like a straightforward job.

Tuesday, November 08, 2005

Study hour

One boat. Some assembly required.
After the rush DVD job, I was able to study the instruction booklet for the the Passagemaker Dinghy kit last night. Did I say booklet? The tome runs 89 pages. But is seems very well written and if full of helpful illustrations. The first step will be to join the scarf joints of several pieces of lumber. The overall boat will be longer than any one peice of wood in the kit, so the shorter pieces have to be spliced together with epoxy. I'll plan to do this in a day or two, so they will be completely cured and ready to use by the weekend. Our record setting warm November weather (set a new record high of 82 degrees yesterday) will help- the epoxy curing process is dramatically slowed in cool temperatures.

That DVD? I was asked by the mayor of Helena to crank out a copy of my concert video of Bo Bice's May visit to Helena. It is to be included in a retirement gift basket for the mayor of nearby Pelham, AL.

Monday, November 07, 2005

My ship comes in

The air cargo guy delivered four heavy boxes of stuff today at about 3 p.m. When I got home, I found that there were two large flat packages that presumably contained lumber, and two smaller boxes, that contained epoxy and other chemicals, and metal hardware such as bronze oarlocks and other metal fasteners. Just unpacking everything was a job.

The two flat boxes contained all the pre-cut wood parts, in 6mm and 9mm thick mahogany marine plywood, as well as instruction booklet, and fiberglass cloth. It's a bit intimidating to see all of it, but in a couple of months this should all be one boat.


The instruction booklet itself is a little daunting, but should be interesting reading for the next day or two. But first, there is the little matter of a rush DVD production job for the mayor of Helena... More soon!

On your marks...

The garage is cleaned. (Well, cleaner...) The essential tools are on hand. The boatbuilding books have been studied. And possibly today is the day of arrival. It's Kathy's week off from work, but she'll be out and about for most of the day, running errands. Fortunately, the delivery can be left without a signature. And since Helena is rated as one of the safest cities in Alabama, I can be sure that everything will be here waiting for me when I get home. And after a day or two of studying kit instructions, I should be ready to go.

Saturday, November 05, 2005

Deadlines

With the idea that it's best to have definite goals, I've decided that the best chance of following through with this project will come with a deadline. Without one, it might be easier to lose steam and let the project languish. So with a publicly proclaimed deadline to measure against, hopefully the project will stay on track.

Since the current idea is that this boat will take about 100 hours to complete, I've calculated a feasible pace to adhere to. Assuming no less than one full 8 hour day on the weekends, and an hour on four of five weeknights, I can put in 12 hours of labor per week. That comes to 8.3 weeks to completion. That is an average that will have to hold up through the holiday season, to arrive at the completion deadline: January 9, 2006. Let the countdown begin!

Wednesday, November 02, 2005

Deliverance

It's official: the Passagemaker Dinghy kit has been shipped today from CLC, and is traveling from Maryland down to me in the heart of Dixie. Expected arrival is Monday. One more weekend left to finish cleaning the garage before the real work begins!